
Consultation
Consultation is an essential step in preparing for any medical procedure, including Redensity 1 Skin Booster treatments. This initial meeting provides a platform for open communication between you and the qualified practitioner, allowing for a thorough discussion of your skin concerns, expectations, and medical history.
Medical History Review
During this consultation, the practitioner will meticulously review your medical history, taking note of any relevant past surgeries, allergies, medications, or existing skin conditions. This comprehensive review is crucial to ensure that Redensity 1 Skin Booster treatment is safe and suitable for you.
The practitioner will also inquire about your aesthetic goals, clarifying what you hope to achieve with the treatment. Openly discussing your desired outcomes allows the practitioner to tailor the treatment plan to your specific needs.
Skin Assessment
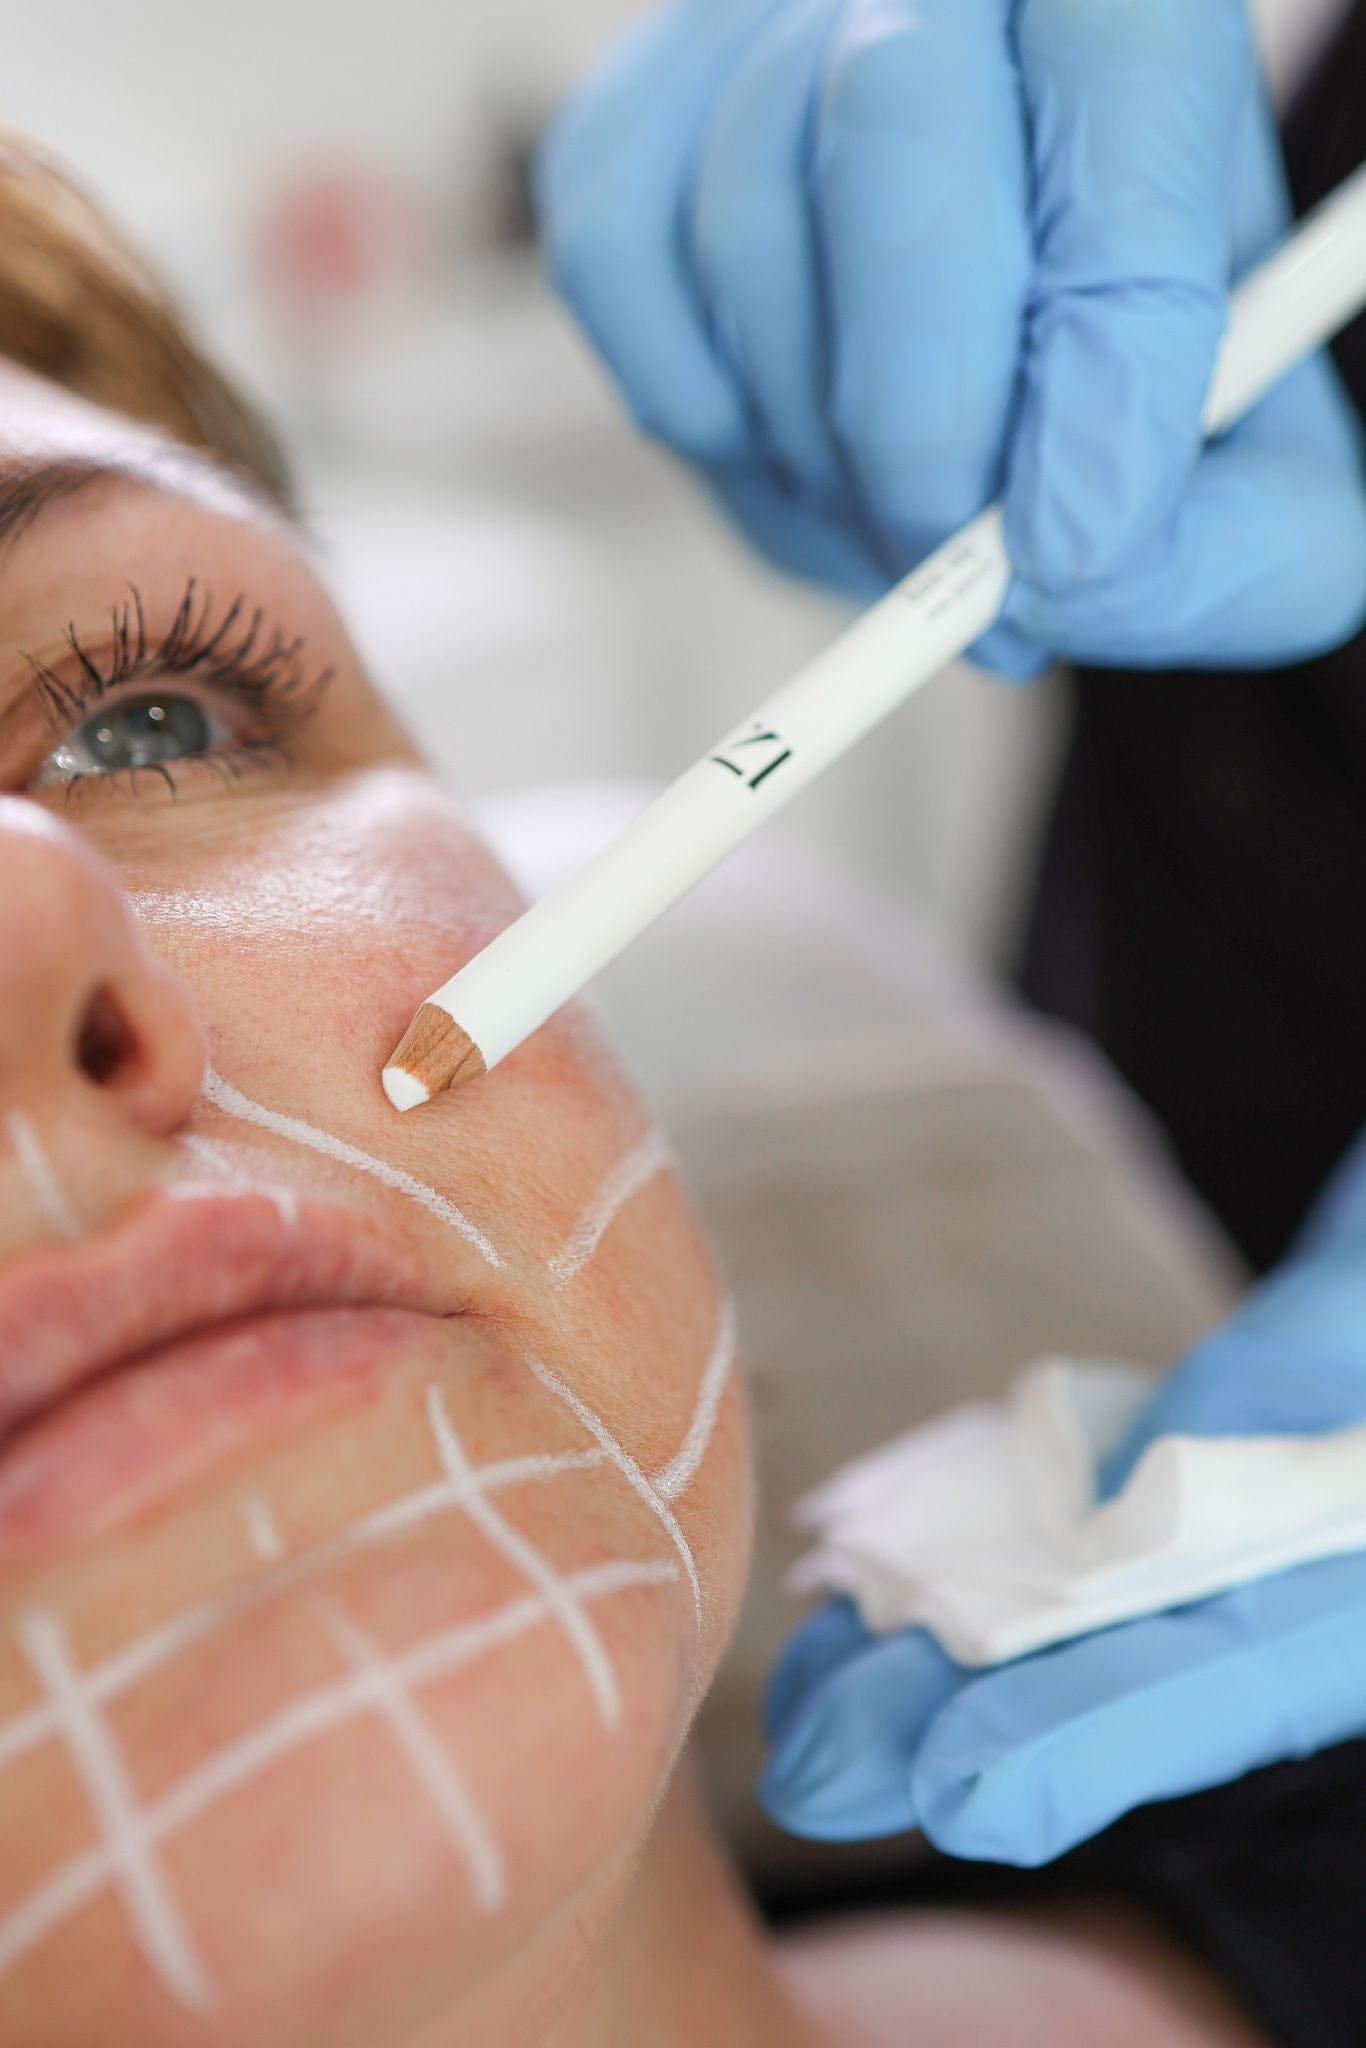
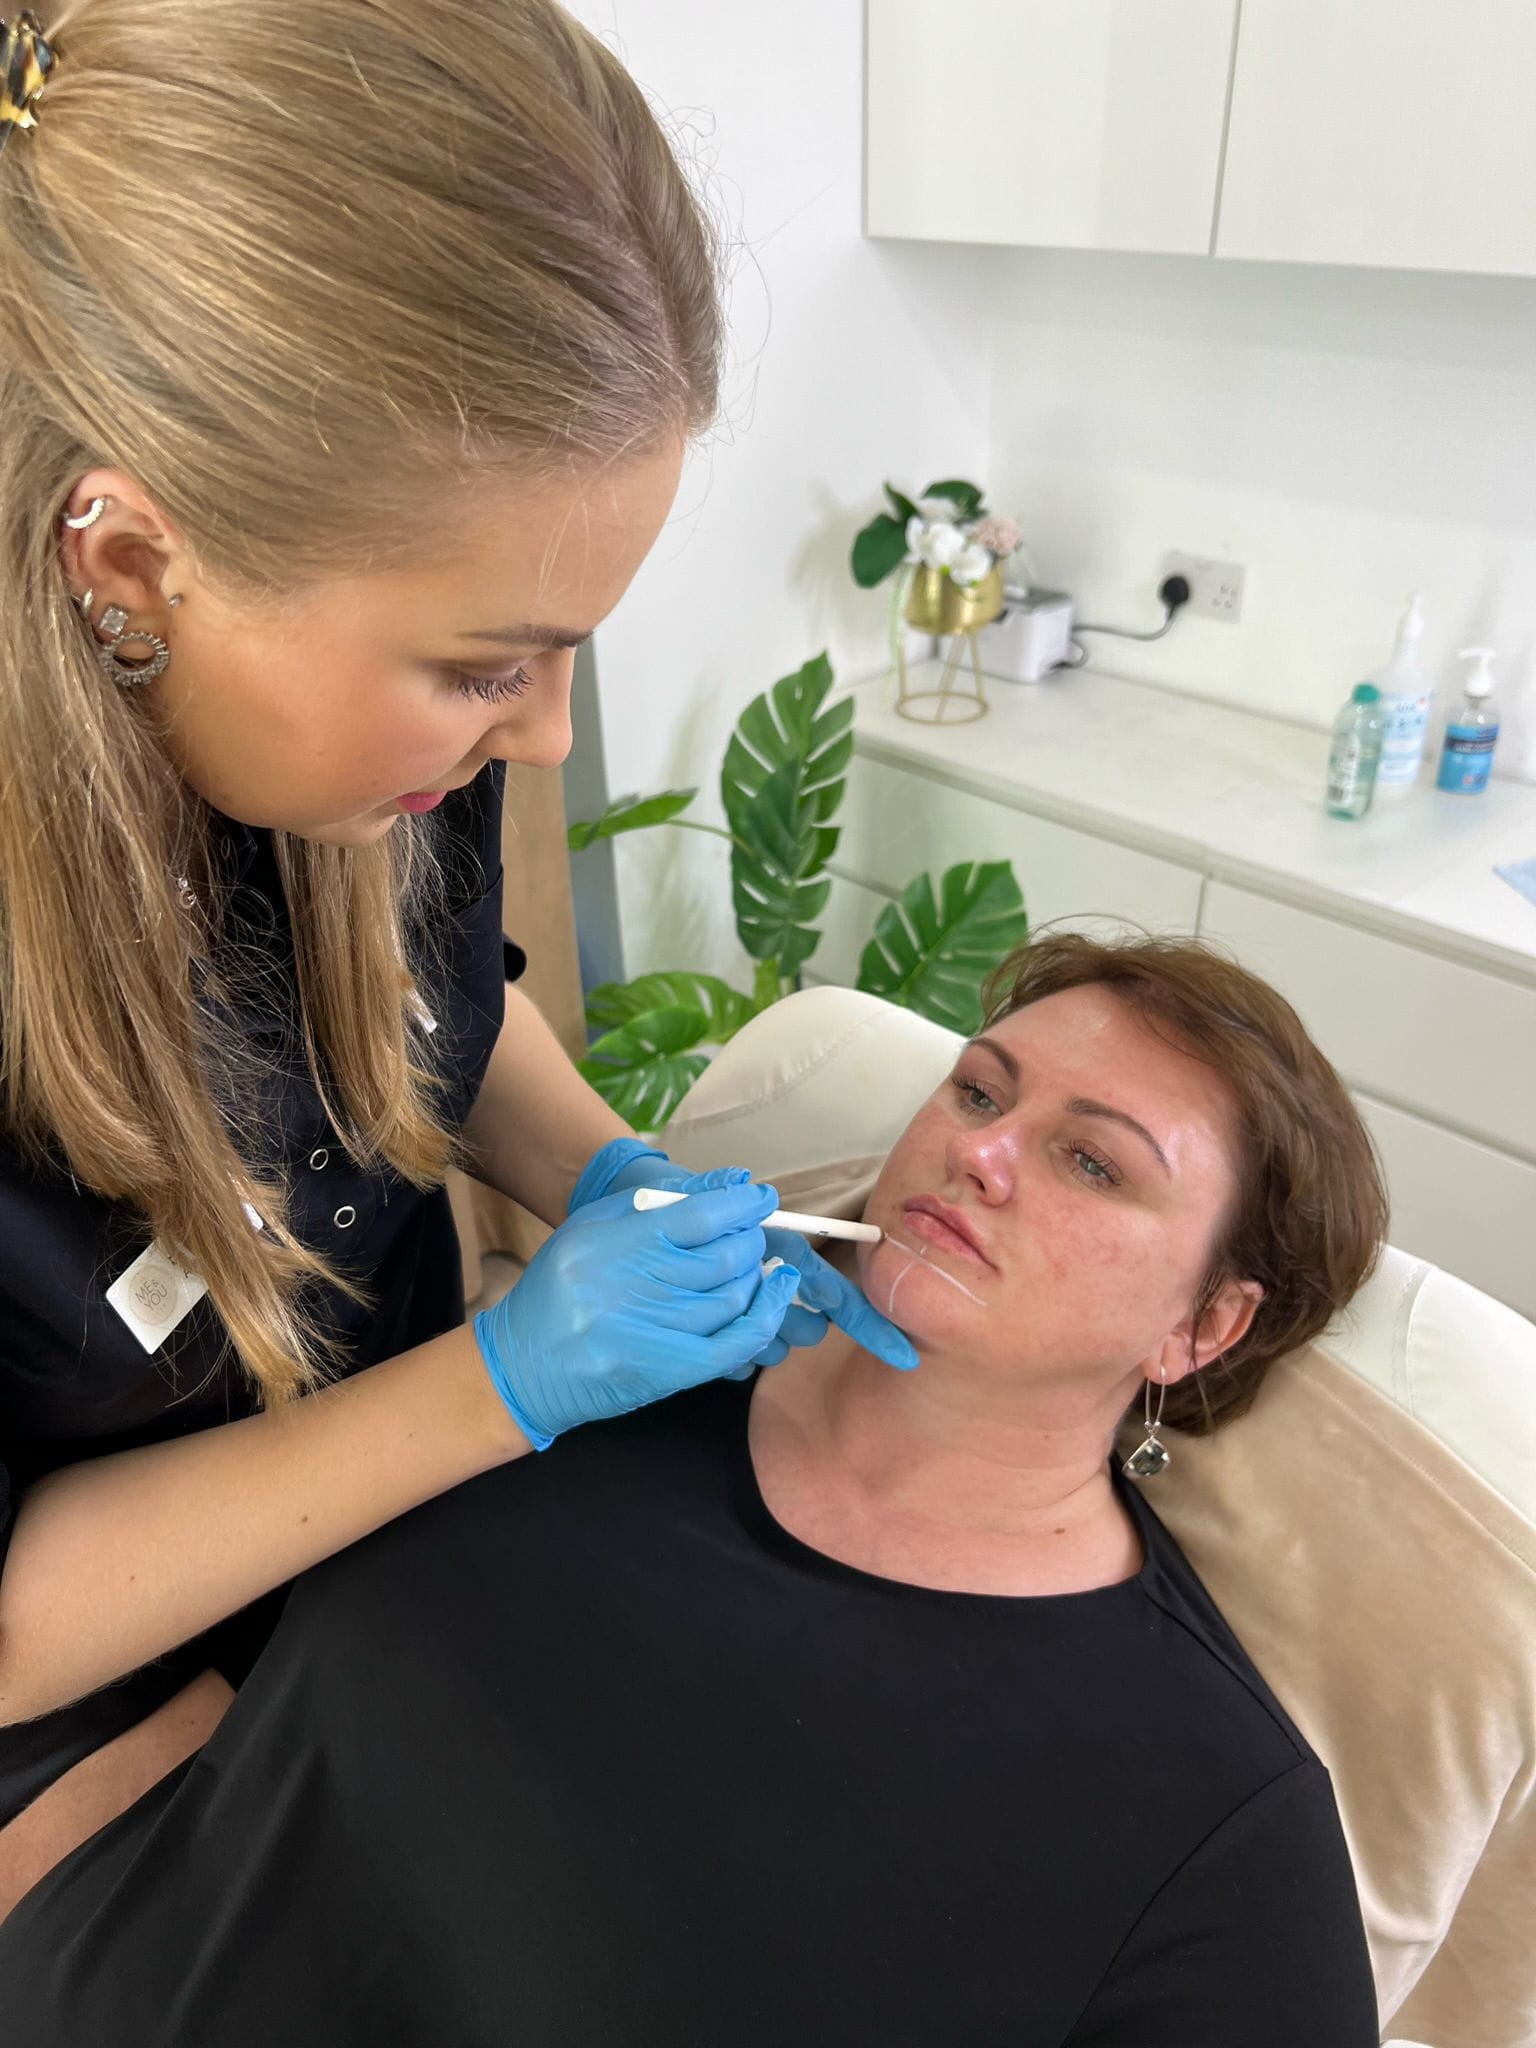
A vital part of the consultation is a thorough skin assessment. The practitioner will examine your skin’s texture, tone, and any existing concerns such as dryness, fine lines, wrinkles, or pigmentation issues.
This hands-on evaluation helps determine the areas that would benefit most from Redensity 1 Skin Booster treatment and guides the practitioner in deciding the optimal injection points and dosage for your individual needs.
Treatment Goals Discussion
During the consultation, the practitioner will explain the procedure in detail, outlining the benefits and potential side effects of Redensity 1 Skin Booster treatments.
They will also address any questions or concerns you may have, ensuring that you feel comfortable and informed about the process.
- The practitioner will discuss realistic expectations for treatment results. It’s important to understand that Redensity 1 Skin Booster is a gradual rejuvenation treatment, and multiple sessions are often required to achieve optimal results.
- A personalized treatment plan will be developed based on your individual skin concerns, goals, and medical history.
- The consultation will conclude with an opportunity to schedule your first Redensity 1 Skin Booster treatment appointment.
Preparation for Treatment
Consultation is an essential step in preparing for any medical procedure, including Redensity 1 Skin Booster treatments. This initial meeting provides a platform for open communication between you and the qualified practitioner, allowing for a thorough discussion of your skin concerns, expectations, and medical history. During this consultation, the practitioner will meticulously review your medical history, taking note of any relevant past surgeries, allergies, medications, or existing skin conditions. This comprehensive review is crucial to ensure that Redensity 1 Skin Booster treatment is safe and suitable for you. The practitioner will also inquire about your aesthetic goals, clarifying what you hope to achieve with the treatment. Openly discussing your desired outcomes allows the practitioner to tailor the treatment plan to your specific needs. A vital part of the consultation is a thorough skin assessment. The practitioner will examine your skin’s texture, tone, and any existing concerns such as dryness, fine lines, wrinkles, or pigmentation issues. This hands-on evaluation helps determine the areas that would benefit most from Redensity 1 Skin Booster treatment and guides the practitioner in deciding the optimal injection points and dosage for your individual needs. During the consultation, the practitioner will explain the procedure in detail, outlining the benefits and potential side effects of Redensity 1 Skin Booster treatments. They will also address any questions or concerns you may have, ensuring that you feel comfortable and informed about the process.
Skin Cleansing
Preparation for a Redensity 1 Skin Booster treatment begins with a consultation. This meeting allows you to discuss your skin concerns, expectations, and medical history with a qualified practitioner.
- Skin Cleansing: Before the treatment, it’s essential to cleanse your skin thoroughly. Use a mild cleanser to remove makeup, dirt, and oil. Avoid using any harsh scrubs or exfoliants as they can irritate the skin and make it more susceptible to bruising.
Anesthetic Cream Application (Optional)
Preparation for a Redensity 1 Skin Booster treatment begins with a consultation. This meeting allows you to discuss your skin concerns, expectations, and medical history with a qualified practitioner.
- Skin Cleansing: Before the treatment, it’s essential to cleanse your skin thoroughly. Use a mild cleanser to remove makeup, dirt, and oil. Avoid using any harsh scrubs or exfoliants as they can irritate the skin and make it more susceptible to bruising.
- Anesthetic Cream Application (Optional): If you have concerns about discomfort during the procedure, your practitioner may recommend applying a topical anesthetic cream 30 minutes before treatment. This can help numb the area being treated and reduce any potential pain or sensitivity.
The Redensity 1 Injection Process
Preparation for a Redensity 1 Skin Booster treatment begins with a consultation. This meeting allows you to discuss your skin concerns, expectations, and medical history with a qualified practitioner.
Before the treatment, it’s essential to cleanse your skin thoroughly. Use a mild cleanser to remove makeup, dirt, and oil. Avoid using any harsh scrubs or exfoliants as they can irritate the skin and make it more susceptible to bruising.
Injection Technique
During the actual Redensity 1 Skin Booster injection process, you’ll be seated comfortably. The practitioner will use a very fine needle to inject small amounts of the solution into various points within the designated areas of your skin.
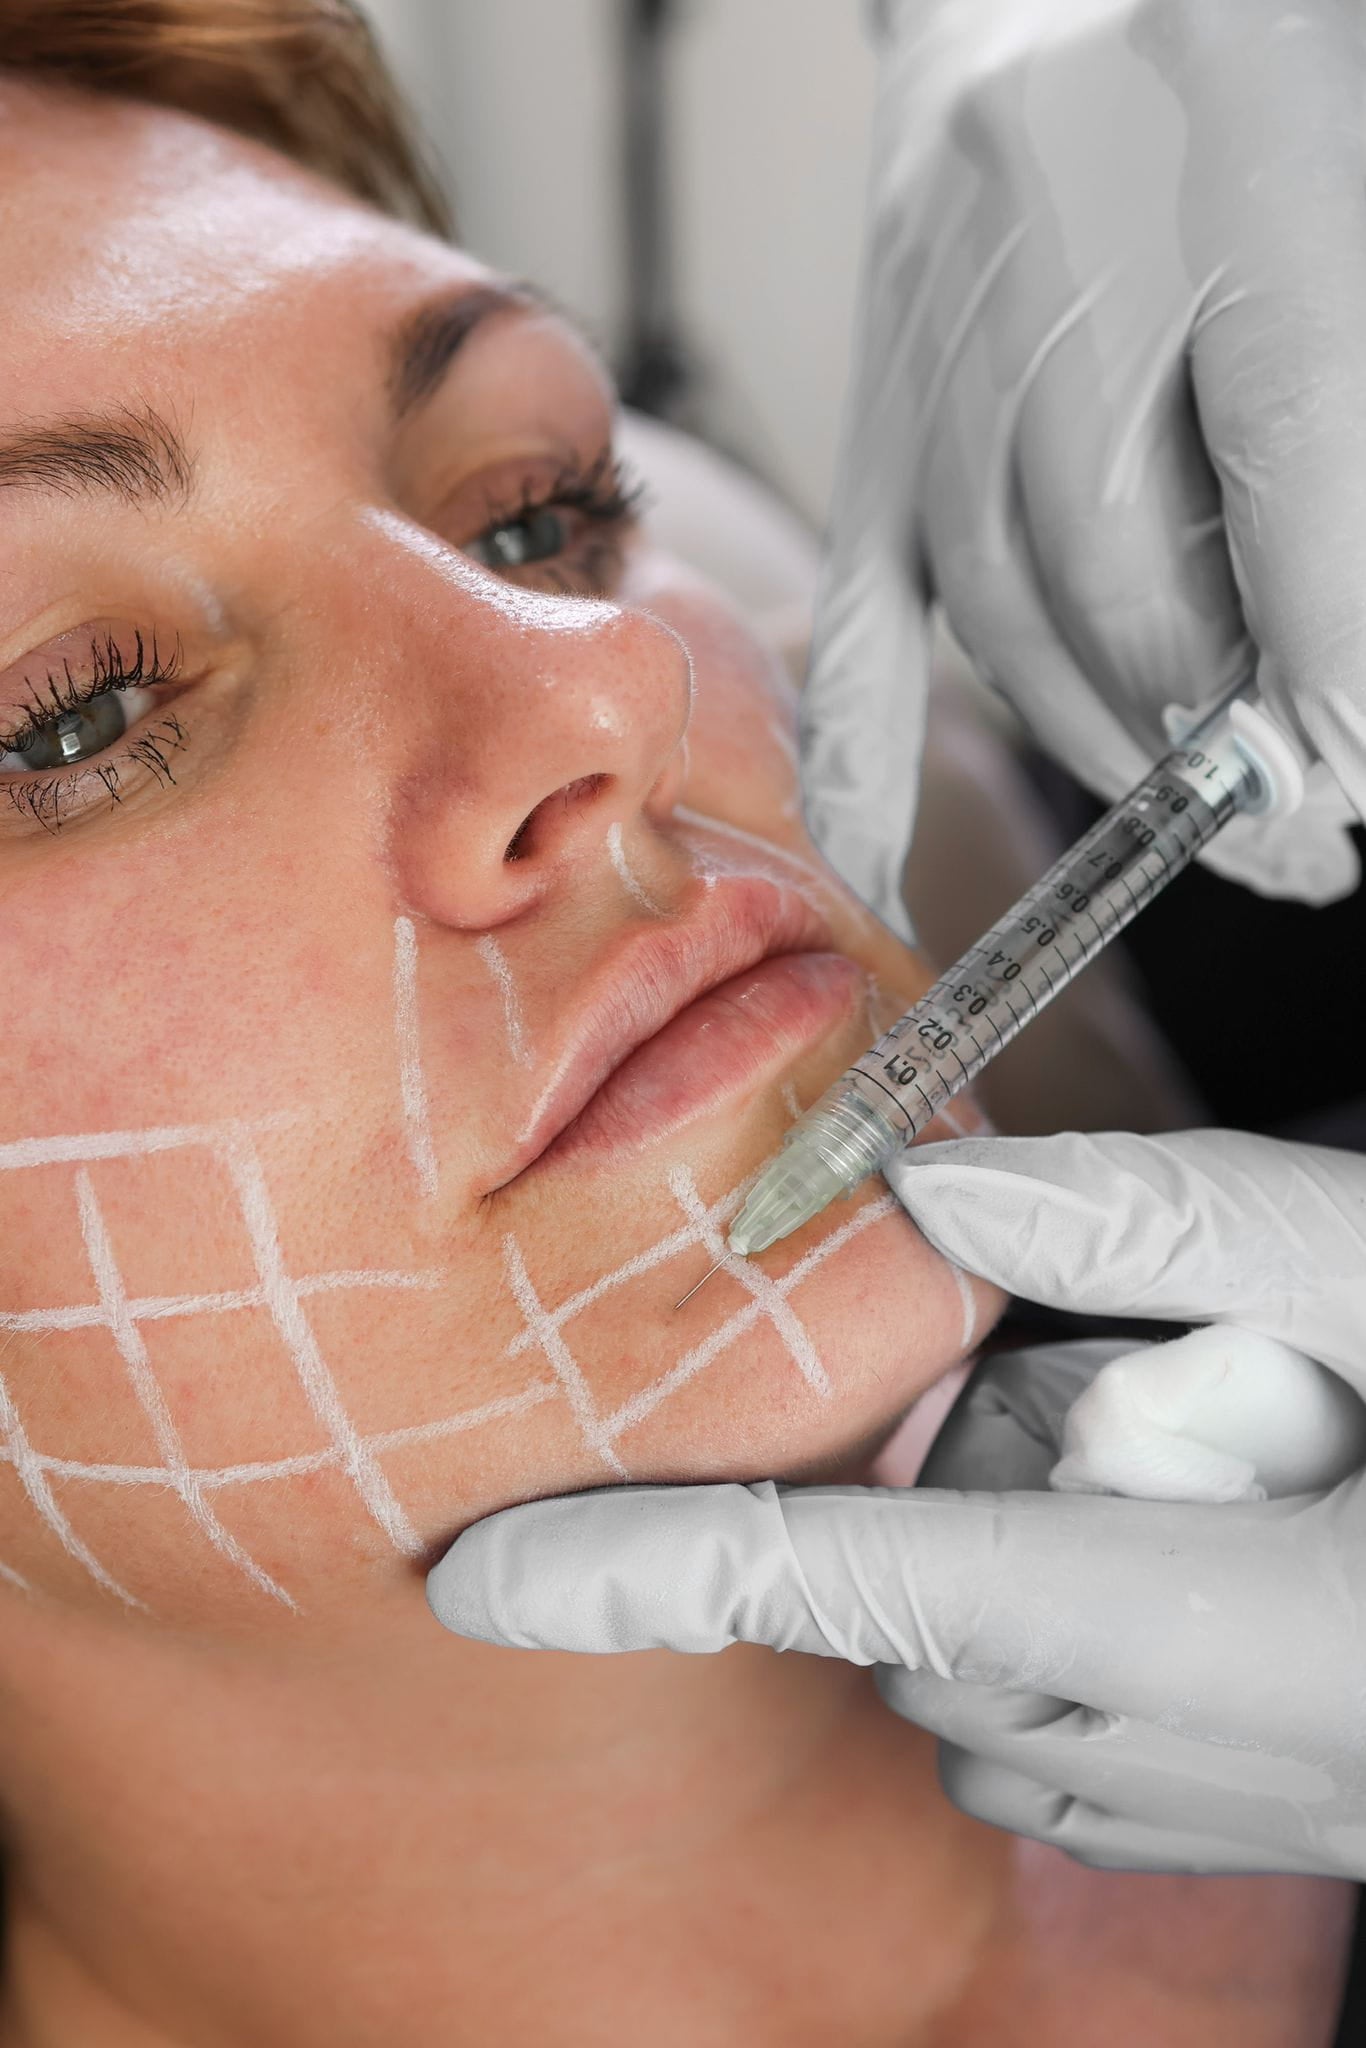
The injections are typically shallow and designed to spread the solution evenly throughout the dermal layers.
While you may feel slight discomfort during the injections, many patients find it tolerable, often describing it as a mild tingling or pricking sensation.
If desired, your practitioner can apply numbing cream beforehand to minimize any potential discomfort.
Number of Injections
During the actual Redensity 1 Skin Booster injection process, you’ll be seated comfortably. The practitioner will use a very fine needle to inject small amounts of the solution into various points within the designated areas of your skin.
The injections are typically shallow and designed to spread the solution evenly throughout the dermal layers.
While you may feel slight discomfort during the injections, many patients find it tolerable, often describing it as a mild tingling or pricking sensation.
If desired, your practitioner can apply numbing cream beforehand to minimize any potential discomfort.
- Number of injections varies depending on the individual’s needs and the areas being treated.
Duration of the Procedure
During the actual Redensity 1 Skin Booster injection process, you’ll be seated comfortably. The practitioner will use a very fine needle to inject small amounts of the solution into various points within the designated areas of your skin. The injections are typically shallow and designed to spread the solution evenly throughout the dermal layers.
While you may feel slight discomfort during the injections, many patients find it tolerable, often describing it as a mild tingling or pricking sensation. If desired, your practitioner can apply numbing cream beforehand to minimize any potential discomfort.
The entire procedure usually takes about 30 minutes to an hour.
Post-Treatment Care
After undergoing your Redensity 1 Skin Booster treatment, it’s essential to follow certain post-treatment care instructions to ensure optimal healing and maximize the results.
Immediate Effects
You can resume your normal activities immediately after your Redensity 1 Skin Booster treatment. However, avoid strenuous exercise or activities that cause excessive sweating for at least 24 hours.
It’s also important to protect your skin from the sun. Apply a broad-spectrum sunscreen with an SPF of 30 or higher daily, even on cloudy days.
For optimal healing and to minimize any potential side effects, avoid using harsh skincare products like retinol or exfoliants for at least a few days after the treatment.
If you experience any redness, swelling, or bruising, these are normal reactions and should subside within a few days.
You’ll likely notice some initial hydration and glow in your skin soon after the treatment.
Full results typically develop gradually over several weeks as the hyaluronic acid attracts and retains moisture, plumping the skin and reducing the appearance of fine lines and wrinkles.
It’s important to attend follow-up appointments with your practitioner for ongoing monitoring and to discuss any concerns or questions you may have.
Swelling and Bruising Management
Swelling and bruising are common side effects that can occur after Redensity 1 Skin Booster treatments. This is due to the microscopic punctures made during the injections, which can cause minor inflammation. Fortunately, these side effects are typically mild and temporary.
To minimize swelling and bruising, it’s recommended to apply cold compresses to the treated areas for 10-15 minutes at a time, several times a day, for the first 24-48 hours after treatment.
You can also elevate your head while sleeping to reduce fluid buildup.
Avoid excessive sun exposure and heat for a few days following the procedure, as these can worsen inflammation.
Over-the-counter pain relievers like ibuprofen or acetaminophen can be used to manage any discomfort.
If you experience persistent swelling or bruising that is concerning, contact your practitioner promptly.
Sun Protection
After undergoing a Redensity 1 Skin Booster treatment, it’s essential to follow specific post-treatment care instructions to ensure optimal healing and maximize the results. You can resume your normal activities immediately after the treatment; however, avoid strenuous exercise or activities that cause excessive sweating for at least 24 hours.
Protecting your skin from the sun is crucial during the healing process. Apply a broad-spectrum sunscreen with an SPF of 30 or higher daily, even on cloudy days. For optimal healing and to minimize potential side effects, avoid using harsh skincare products like retinol or exfoliants for at least a few days after the treatment.
If you experience redness, swelling, or bruising, these are normal reactions and should subside within a few days. You’ll likely notice some initial hydration and glow in your skin soon after the treatment. Full results typically develop gradually over several weeks as the hyaluronic acid attracts and retains moisture, plumping the skin and reducing the appearance of fine lines and wrinkles.
It’s important to attend follow-up appointments with your practitioner for ongoing monitoring and to discuss any concerns or questions you may have.
Follow-Up Appointments
Following a Redensity 1 Skin Booster treatment, it’s essential to prioritize post-treatment care to ensure optimal healing and results. You can typically resume your normal activities immediately, but avoid strenuous exercise or excessive sweating for at least 24 hours.
Protecting your skin from the sun is crucial. Apply a broad-spectrum sunscreen with an SPF of 30 or higher daily, even on cloudy days. It’s also recommended to refrain from using harsh skincare products like retinol or exfoliants for several days after treatment to allow your skin to recover.
If you experience redness, swelling, or bruising, these are normal side effects that should subside within a few days. You might notice a refreshed and hydrated complexion shortly after the treatment. The full results typically develop gradually over several weeks as the hyaluronic acid works its magic, plumping the skin and diminishing the appearance of fine lines and wrinkles.
Regular follow-up appointments with your practitioner are essential to monitor your progress, address any concerns, and discuss the possibility of additional treatments to maintain optimal results.
- Why Gaslighting Is One Of The Most Toxic Behaviors In Relationships - November 13, 2025
- What Is The Downtime For Jaw And Chin Fillers? - November 10, 2025
- What Are The Best CBD Infused Gummies For Joint Pain - November 9, 2025